


Blog
How to Choose a Power Supply for Your PC

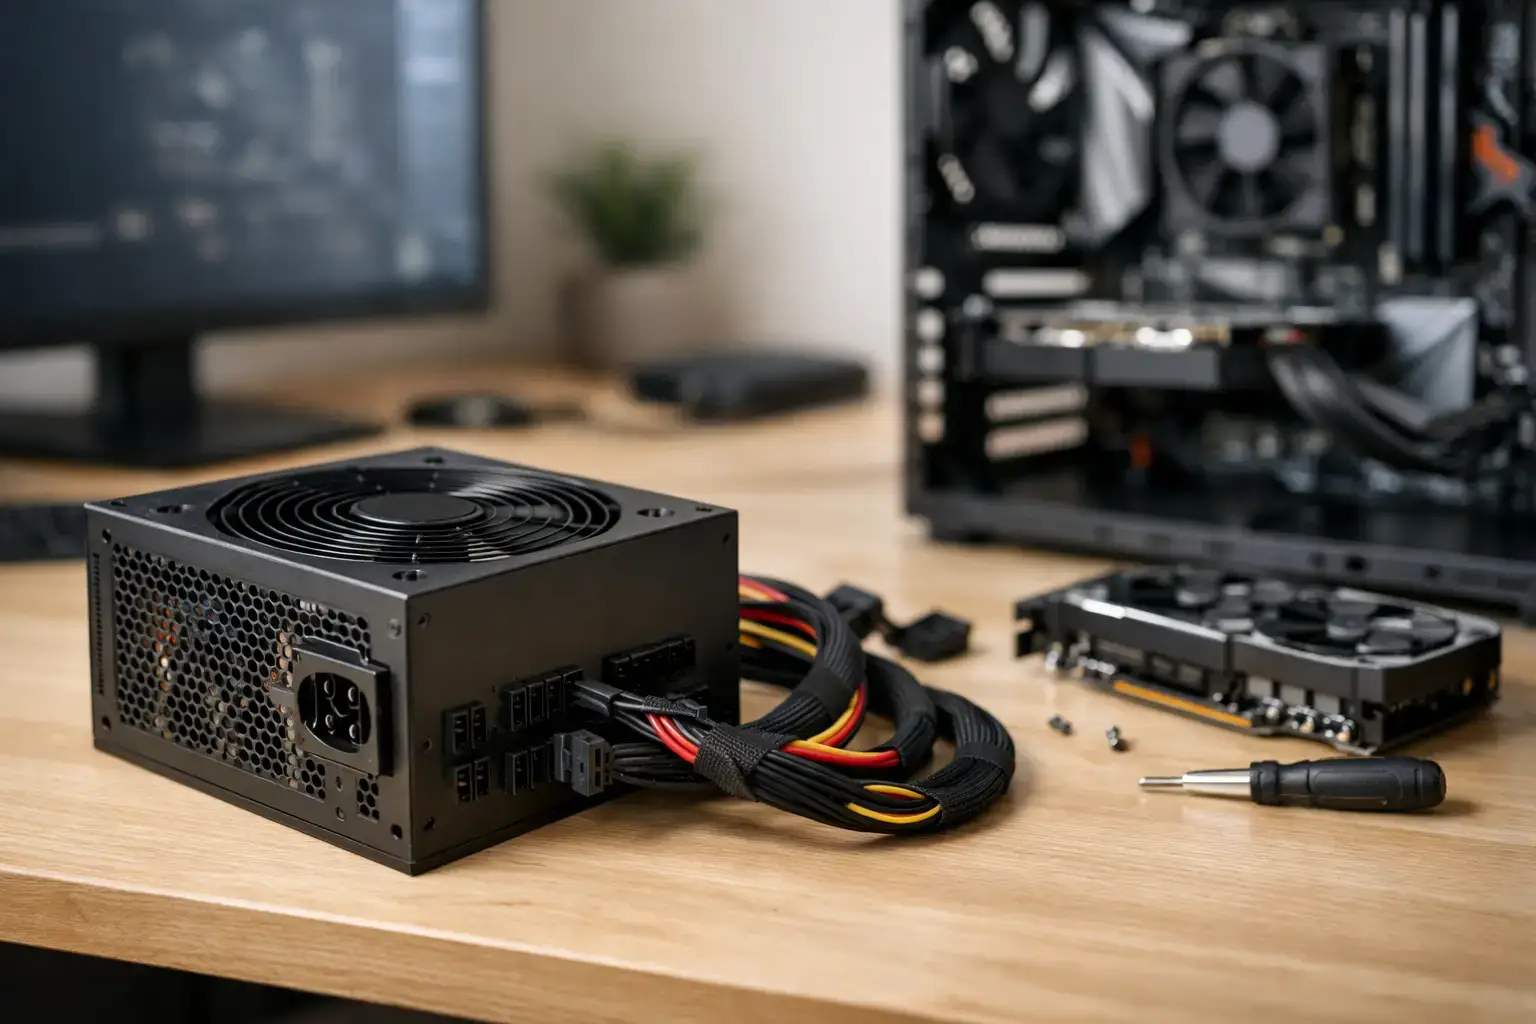
A power supply is not the part that raises your frame rate, but it is the part every other component depends on. Knowing how to choose a power supply means looking beyond the biggest wattage number on the box. The right PSU delivers clean, stable power under load, supports your graphics card properly, stays quiet when it can, and leaves room for future upgrades.
For a budget home PC, the choice can be straightforward. For a high-FPS gaming machine, video editing workstation, or RTX-powered upgrade, it deserves more attention. A poor-quality unit can cause instability, random shutdowns, excessive cable clutter, and limited upgrade options. A well-chosen PSU helps a custom PC perform reliably for years.
How to Choose a Power Supply: Start With Wattage
Wattage is the first specification most buyers see, and it matters, but bigger is not automatically better. Your power supply should comfortably cover the maximum demand of your CPU, GPU, motherboard, memory, storage, cooling, and USB devices. It also needs headroom for short bursts of higher demand, known as transient spikes, particularly with powerful modern graphics cards.
A practical approach is to add the expected peak power draw of the CPU and GPU, then allow another 30% or so for the rest of the system and future flexibility. A system with a 200W graphics card and a CPU that can draw 150W under heavy workloads should not be paired with a bare-minimum 450W unit just because the arithmetic appears to fit. A quality 650W or 750W model is usually the more sensible choice.
As a general guide, these ranges suit many modern builds:
- 450W to 550W: Entry-level office PCs, home systems, and gaming desktops with lower-power graphics cards.
- 650W to 750W: The sweet spot for many midrange and upper-midrange gaming PCs, creator systems, and builds with cards such as RTX 4060 Ti, RTX 4070-class, or comparable Radeon models.
- 850W: A strong choice for high-performance GPUs, powerful multi-core CPUs, multiple drives, and buyers planning meaningful upgrades.
- 1000W and above: Best reserved for enthusiast graphics cards, top-tier Ryzen 9 or Core i9 systems, demanding workstation loads, or dual high-power expansion setups.
Manufacturer recommendations for graphics cards are a useful starting point, but they assume a complete system and can be conservative. They are still worth respecting. If you are choosing between two reputable units and one gives you sensible headroom, choose the higher wattage option. Avoid overspending on a 1200W PSU for a modest gaming PC, though. You will not gain extra performance simply because the unit has a larger rating.
Efficiency Ratings Matter, but They Are Not the Whole Story
The 80 PLUS badge measures how efficiently a PSU converts wall power into usable DC power for your components. Higher efficiency means less wasted energy and heat. In practical terms, an 80 PLUS Gold unit will often run cooler and quieter than a basic 80 PLUS Bronze model under the same load.
For most gaming and professional PCs, 80 PLUS Gold is an excellent target. It offers strong efficiency without pushing the build budget too far. Bronze units can still be suitable for lower-cost systems when they come from a respected manufacturer and use a proven platform. Platinum and Titanium models make more sense for always-on workstations, premium builds, or users who value maximum efficiency and very low noise.
Do not treat the efficiency label as a quality guarantee. A Gold-rated PSU is not automatically safer or better built than every Bronze model. Look at the complete package: manufacturer reputation, warranty length, professional testing, protection features, cable quality, and the unit’s ability to deliver its full rated output continuously.
Choose the Right Standard and GPU Connectors
Modern graphics cards have changed the connector conversation. Many current GPUs use traditional 6+2-pin PCIe power connectors, while newer higher-end cards may use a 16-pin connector, commonly called 12V-2×6. Earlier versions are often referred to as 12VHPWR.
If your new graphics card uses the 16-pin connection, an ATX 3.0 or newer ATX 3.1 power supply with a native cable is the cleanest option. It reduces adapter clutter and is designed to handle the rapid power changes of modern GPUs. Adapters supplied with graphics cards can work when installed correctly, but a native cable is preferable for a fresh build.
Check the connector count before you buy. Do not assume that because a PSU has enough wattage, it has the right cables. A performance graphics card may require two or three separate PCIe power leads. Use separate cables where the PSU and GPU instructions call for them rather than daisy-chaining connectors from one cable to a high-draw card.
Also confirm support for your motherboard and storage. Most standard ATX motherboards need a 24-pin main power cable and at least one CPU EPS connector. Higher-end boards may use an additional CPU power connector for heavy overclocking or sustained multi-core workloads. SATA power connectors are needed for 2.5-inch SSDs, hard drives, RGB hubs, and some fan controllers.
Form Factor and Cable Design Affect the Build
Most desktop cases use an ATX power supply, but compact cases can require an SFX or SFX-L unit. This is not a minor detail. An ATX PSU simply will not fit many small-form-factor cases, while an SFX unit can cost more and may use shorter or more specialized cables.
Check the PSU length as well as its standard. Some high-wattage ATX models are longer than usual, which can interfere with drive cages, front radiators, or cable-routing space in compact mid-tower cases.
A modular PSU makes building and upgrading easier because you only connect the cables your system needs. Fully modular models offer the cleanest cable management. Semi-modular units keep essential cables attached and let you add the rest. Non-modular units cost less, but extra unused cables must be tucked away in the case.
For a first gaming PC or a system with a windowed case, modular cables are often worth the small premium. Better airflow, easier troubleshooting, and a neater finished build are practical benefits, not just cosmetic ones.
Prioritize Build Quality and Electrical Protection
The PSU is one component where a bargain can become expensive. A cheap, unknown unit may advertise high wattage while performing poorly at sustained load or lacking the protection circuitry that helps protect expensive components.
Look for protections such as over-voltage protection, under-voltage protection, over-current protection, short-circuit protection, over-power protection, and over-temperature protection. These features cannot prevent every problem, but they provide essential safeguards if something goes wrong with the unit or the system.
Warranty length is another useful signal. A reputable gaming or workstation PSU commonly carries a seven- to 10-year warranty, while entry-level units may have shorter coverage. That does not mean every long-warranty model is the right fit, but it shows the manufacturer is prepared to stand behind the platform.
Pay attention to noise, too. Larger fans, efficient operation, and a zero-RPM mode can keep a PSU quiet at lighter loads. For an office PC, silence may be the priority. For a gaming build with powerful case fans and a performance GPU, a slightly more audible PSU is less noticeable, but quality still matters for long sessions.
Plan for the PC You Will Have Next Year
A power supply can outlast a graphics card, CPU, or storage upgrade, so buy with a realistic upgrade path in mind. If you are building around an entry-level GPU today but expect to move into 1440p gaming later, a good 750W unit may be a smarter long-term purchase than replacing a 550W PSU during the upgrade.
That said, future-proofing has limits. Buy for a likely upgrade, not every possible one. A creator who plans to add more storage and step up to a stronger GPU needs headroom. A home user who wants a reliable PC for web browsing, schoolwork, and streaming does not need to pay for enthusiast-level capacity.
A compatibility-checked custom build removes much of this guesswork, but the same principle applies whether you are selecting every part yourself or choosing a configured desktop. Match the PSU to the actual components, intended workload, case, and upgrade plans.
The best power supply is the one you rarely think about: it starts every time, stays stable through a demanding game or long render, and gives your next upgrade a proper foundation.

