


Blog
Best PCs for 3D Rendering for Every Workflow

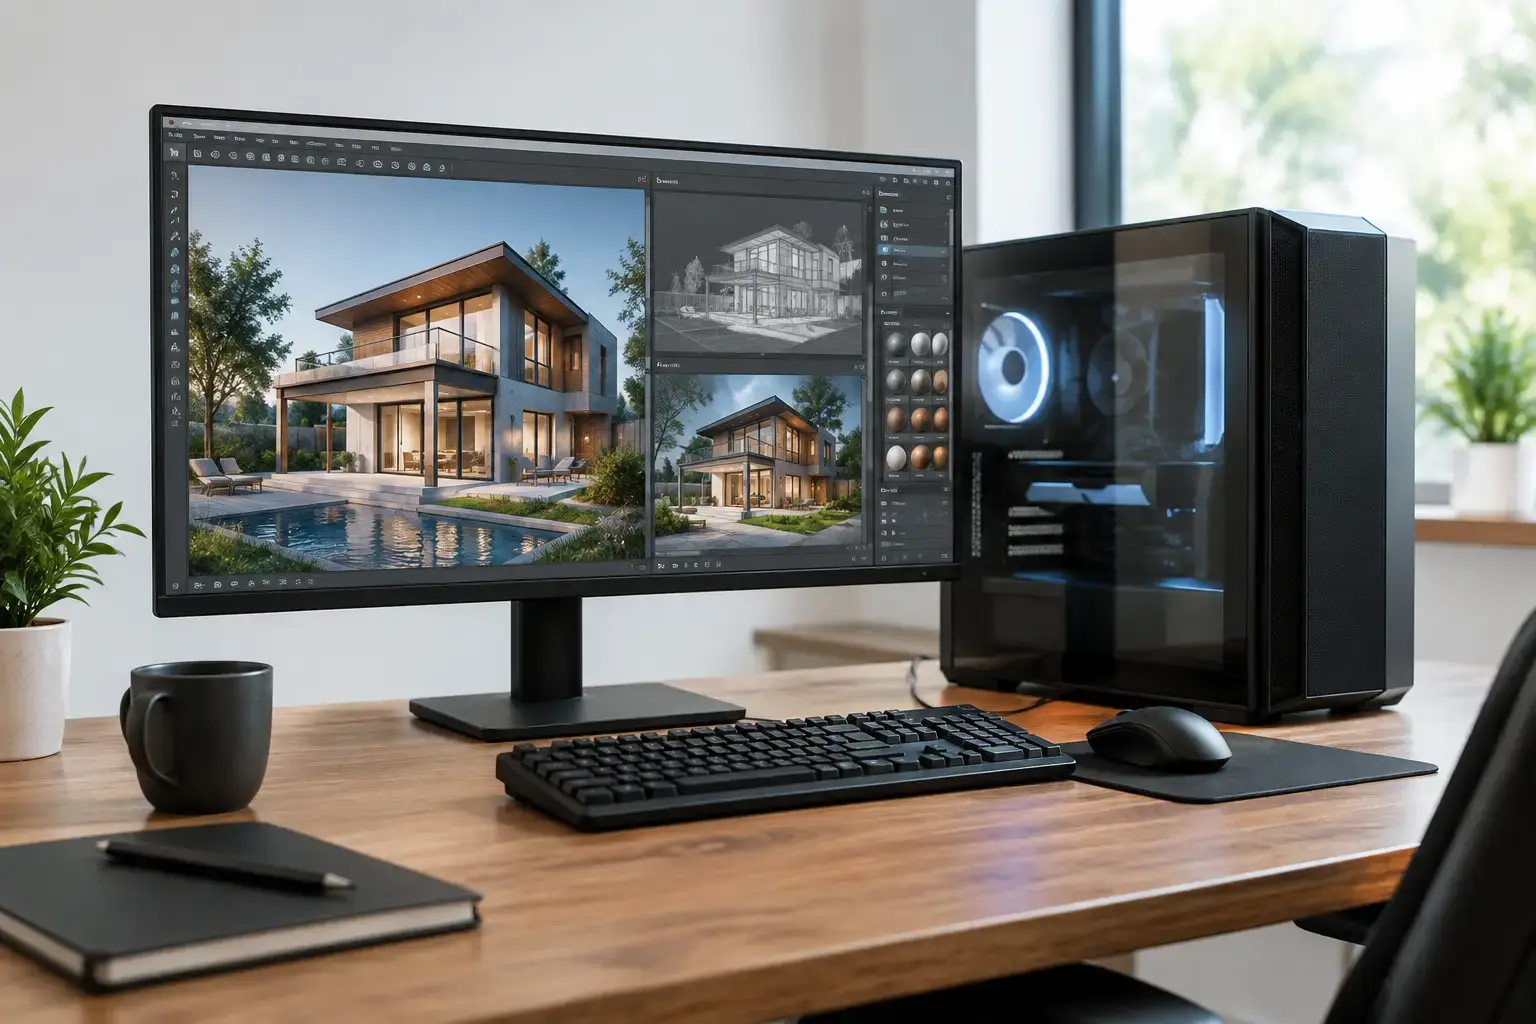
A render that takes eight hours instead of two changes more than a deadline. It changes how many camera angles you test, how much lighting you refine, and whether you can keep working while the final frames process. The best PCs for 3D rendering are not simply the ones with the biggest gaming graphics card or the highest CPU clock speed. They are balanced workstations built around the rendering engine, scene complexity, and software you actually use.
For Blender artists, architectural visualizers, product designers, animators, and CAD users, the right desktop should feel fast before you press Render. It needs responsive viewport performance, enough memory for heavy scenes, fast project loading, and dependable multi-core power when it is time to produce final output. Here is how to choose a system that fits the work without paying for components that will sit idle.
What the Best PCs for 3D Rendering Need
A rendering PC has to handle two different jobs: creating the scene and calculating the finished image or animation. Modeling, sculpting, simulation setup, and viewport navigation often benefit from strong single-core CPU speed and a capable GPU. Final rendering may lean heavily on the GPU, CPU, or both, depending on the software and renderer.
That is why a balanced configuration matters. A high-end GPU paired with too little RAM can still choke on a large scene. A powerful processor with entry-level graphics may render CPU projects well but feel slow while orbiting a detailed model. Storage matters too. Large texture libraries, cached simulations, and 4K image sequences quickly expose the limits of a small or slow drive.
The core components to prioritize are the CPU, graphics card, RAM, NVMe SSD storage, cooling, and a quality power supply. A properly assembled workstation also matters more than it may seem. Memory profiles, BIOS configuration, airflow, and component compatibility all affect stability during long render sessions.
Start With Your Renderer, Not the Spec Sheet
Before choosing a processor family or graphics card, identify where your renderer does its work. This is the decision that shapes the rest of the build.
GPU rendering: speed depends on GPU power and VRAM
Blender Cycles with GPU acceleration, OctaneRender, Redshift, V-Ray GPU, and many real-time visualization workflows benefit heavily from an NVIDIA RTX graphics card. CUDA and OptiX support are major reasons NVIDIA remains a practical choice for many professional 3D pipelines.
For these users, GPU VRAM deserves as much attention as raw GPU performance. VRAM holds geometry, textures, lighting data, and scene assets while the GPU renders. If a scene exceeds available VRAM, performance can drop sharply or the job may not run as expected. An RTX card with 12GB of VRAM is a strong starting point for serious 3D work, while 16GB or more makes more sense for large architectural scenes, complex product visualization, detailed characters, and high-resolution textures.
A fast GPU also improves viewport performance, which makes a real difference during day-to-day work. You can test materials, adjust lighting, and move through demanding scenes with less waiting. If you spend more hours building scenes than rendering final frames, that responsiveness is a worthwhile investment.
CPU rendering: cores still count
CPU renderers such as Arnold CPU, Corona Renderer, V-Ray CPU, and some CAD or simulation workloads reward high core counts. A modern AMD Ryzen 9 or Intel Core i9 processor can dramatically outperform midrange CPUs when all cores are working on a final render.
More cores are not the only consideration. Strong single-core speed still helps with general modeling performance, application responsiveness, and tasks that do not scale perfectly across every thread. For most creators, a current Ryzen 7 or Intel Core i7 is an excellent foundation. Step up to Ryzen 9 or Core i9 when rendering is a regular production task, when you work with simulation-heavy files, or when you need to render while keeping other applications open.
If your renderer can use both CPU and GPU resources, prioritize the graphics card first, then choose a processor with enough cores to keep the whole system responsive. Spending every dollar on one component rarely creates the best real-world workstation.
Choose a Performance Tier That Matches Your Projects
Entry-level 3D: learning, hobby work, and lighter scenes
A capable entry configuration should include a modern Ryzen 5 or Intel Core i5 processor, an RTX 4060-class GPU, 32GB of RAM, and a 1TB NVMe SSD. This level is a solid fit for students, Blender beginners, game asset creation, basic CAD, small product scenes, and moderate-resolution renders.
The key upgrade over a typical home PC is 32GB of memory. While 16GB can run 3D software, it becomes restrictive once Blender, reference images, a browser, texture tools, and a rendering workload are open together. Starting at 32GB keeps the system practical for longer.
Midrange 3D workstation: serious freelance and creative work
For consistent client work, architectural visualization, animation, and larger Blender projects, look toward a Ryzen 7 or Core i7, an RTX 4070 Super or higher, 32GB to 64GB of RAM, and at least 1TB of fast NVMe storage. This is often the performance sweet spot for creators who need excellent viewport speed and meaningful GPU-rendering gains without moving into the highest workstation budgets.
At this tier, 64GB of RAM is often the smarter choice if you work with high-resolution textures, particle systems, photogrammetry, Unreal Engine projects, After Effects, or multiple creative applications at once. Memory headroom prevents the system from relying heavily on slower disk-based virtual memory when a scene gets demanding.
High-end 3D production: large scenes and tight turnaround times
A high-end build based on a Ryzen 9 or Core i9 processor, an RTX 4080-class GPU or above, 64GB to 128GB of RAM, and multiple NVMe drives is designed for professionals where render time is billable time. It suits demanding animation, VFX, large CAD assemblies, complex simulations, 3D scanning, high-resolution archviz, and GPU-heavy production pipelines.
This is also the right level for artists who run long renders overnight or deliver frequent animation sequences. Faster hardware does not just shorten a single render. Across weeks of revisions and multiple projects, it gives you more room to iterate instead of accepting the first acceptable result.
RAM and Storage Are Not Secondary Decisions
RAM is the workspace your PC uses while scenes, textures, caches, and applications are active. For 3D rendering, 32GB is the practical floor. Choose 64GB when your files are growing, and consider 128GB for advanced simulation, huge environments, heavy multitasking, or professional projects with uncompressed assets.
Storage should be split according to how you work. A fast NVMe SSD for Windows, applications, and active projects keeps boot times, file loading, and cache activity quick. A second NVMe SSD is valuable for project files, source footage, simulation caches, and scratch disks. Larger SATA SSDs or hard drives can still make sense for archives, but they should not be the main workspace for active 3D production.
Do not overlook backup storage. Rendered sequences and project files represent hours of work. A backup plan is cheaper than rebuilding an animation after a drive failure.
Cooling, Power, and Upgradeability Protect the Investment
Rendering pushes a CPU and GPU hard for extended periods. That makes cooling a performance component, not a cosmetic extra. A case with proper airflow, a capable CPU cooler, and well-managed fan configuration help components sustain their boost speeds rather than throttling under heat.
A quality power supply is equally important, particularly in systems with high-performance RTX GPUs. It should provide sufficient capacity for the full configuration and leave sensible headroom for future upgrades. Cutting corners here can undermine an otherwise powerful build.
Fully upgradeable desktops offer a clear advantage over closed mass-market systems. You may begin with 32GB of RAM and expand later, add a second NVMe drive as projects grow, or upgrade the GPU when your workflow changes. A custom-built PCZone workstation is compatibility-checked and configured before delivery, giving you a ready-to-use starting point with a sensible path forward.
Avoid These Common 3D Rendering Mistakes
First, do not buy based on gaming FPS alone. Gaming benchmarks are useful for showing GPU capability, but they do not tell the full story about VRAM capacity, CUDA acceleration, CPU rendering throughput, or stability under hours of sustained load.
Second, avoid overspending on the CPU while underbuying the GPU if your main renderer is GPU-accelerated. Conversely, a premium GPU cannot compensate for insufficient CPU cores in a CPU-rendering workflow. Check your software documentation and build around its preferred hardware path.
Finally, do not settle for 16GB of RAM or a tiny boot drive just to hit a lower upfront price. Those are the compromises most likely to interrupt your workflow early. A well-chosen 32GB or 64GB configuration with enough fast storage will usually remain useful far longer.
The right rendering PC is the one that makes your next project feel possible at a higher level. Match the configuration to the renderer you use most, leave room for larger scenes, and choose components that can keep working as hard as you do.

