


Blog
How to Upgrade Desktop Storage Without Guesswork

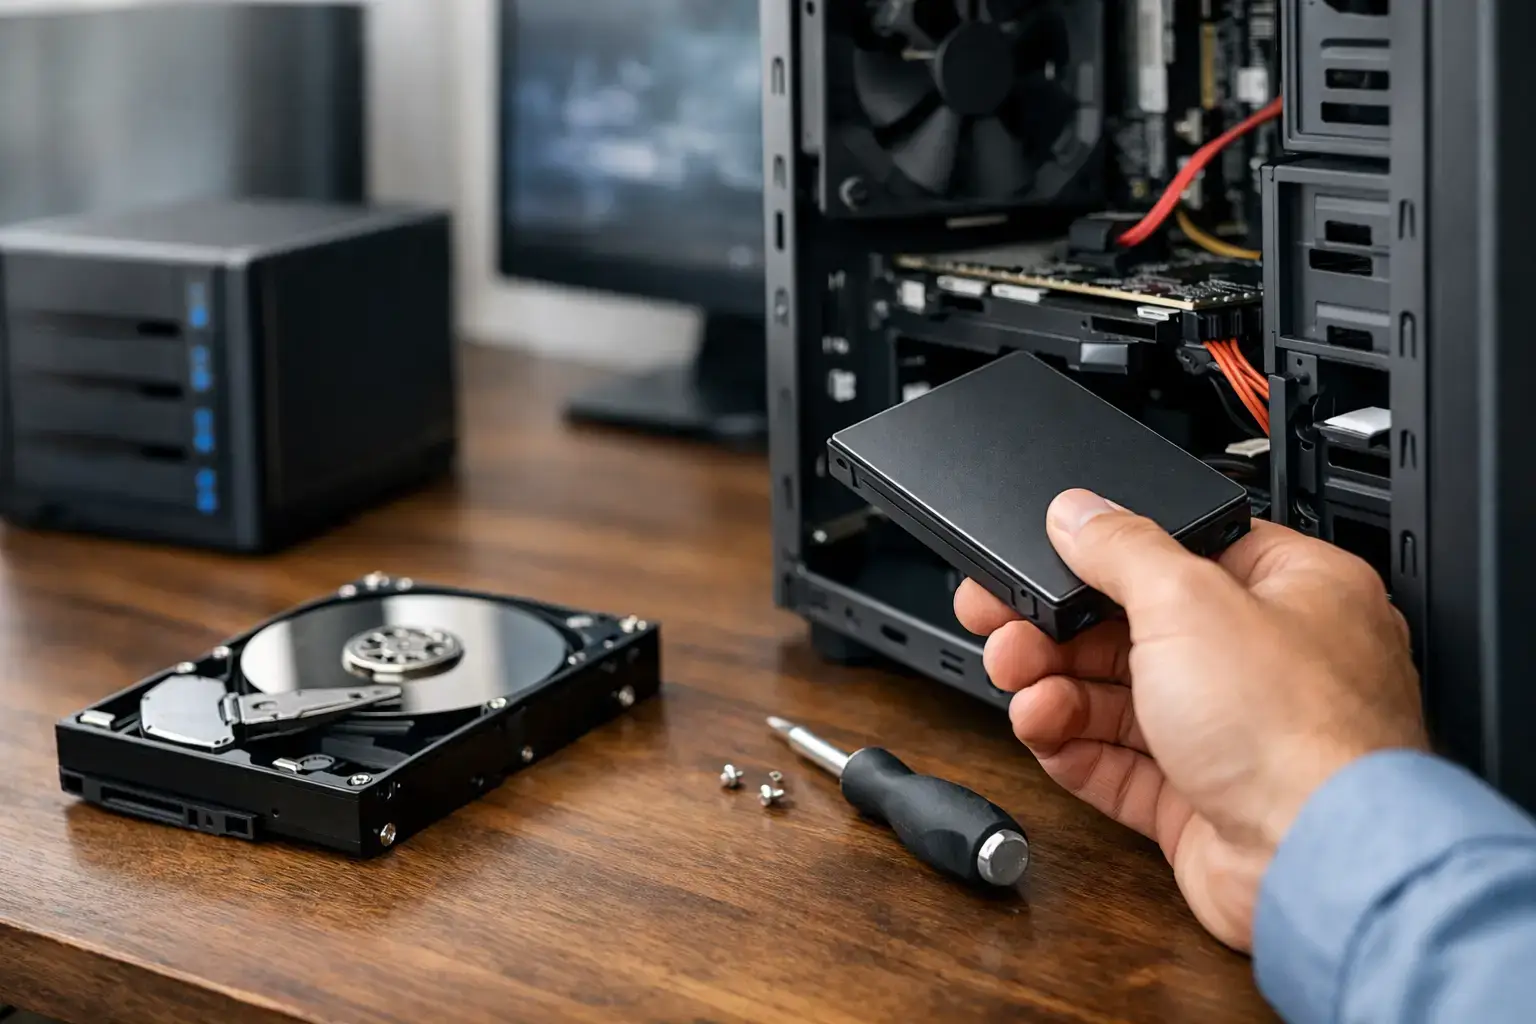
A desktop that takes minutes to boot, stalls while loading a game, or leaves you deleting files before every update is usually not asking for a full replacement. It is asking for more capable storage. Learning how to upgrade desktop storage lets you add room for a growing library, speed up everyday work, or both – often for far less than the cost of a new PC.
The right route depends on what is currently inside your system. A fast NVMe SSD makes the biggest difference for Windows, games, and active projects, while a large hard drive still offers excellent value for media archives and backups. Before ordering anything, identify your available connections, physical space, and the job the new drive needs to do.
Start with the storage problem you actually have
Storage upgrades solve two different problems: capacity and speed. They can overlap, but they are not the same purchase.
If your desktop has a 256GB or 500GB system drive that is nearly full, a larger SSD gives you breathing room for Windows updates, applications, and games. Keeping an SSD close to full can also hurt its ability to manage temporary data efficiently. As a practical target, leave roughly 15 to 20 percent free on the drive that holds your operating system.
If your computer already feels responsive but photos, videos, recordings, or work files are consuming space, a secondary drive may be the better value. A 2TB or 4TB hard drive can hold a substantial archive without forcing you to pay SSD prices for files you rarely open. For video editors, designers, and creators, a sensible setup is often a fast SSD for current projects and a larger secondary drive for completed work and raw footage.
Gamers should look at the size of their real library, not just one title. Modern games can use well over 100GB each, and shader caches, captures, mods, and launchers add up fast. A 1TB SSD is a strong starting point for a gaming desktop, while 2TB is often the more comfortable choice for players who keep several large games installed.
Choose between NVMe SSD, SATA SSD, and HDD
The best drive is the one your desktop supports and your workload benefits from. Do not buy solely based on the largest benchmark number on the box.
NVMe SSD: best for speed-sensitive workloads
An NVMe SSD installs directly into an M.2 slot on the motherboard. It uses PCIe lanes rather than the older SATA connection, delivering much higher transfer speeds and very low latency. This makes it the preferred choice for a Windows boot drive, demanding games, creative applications, and active editing projects.
Most current desktops support M.2 NVMe drives, but the exact generation matters. A PCIe Gen 4 drive in a Gen 3 slot will still work, but it will run at Gen 3 speeds. That is not a problem for most general use. It simply means you should not overspend on top-tier Gen 5 hardware if your motherboard cannot take advantage of it.
Check whether the M.2 slot supports NVMe specifically. Some older boards have M.2 slots designed for SATA M.2 drives only. Also check the supported drive length. The common 2280 size fits most systems, but compact PCs can have restrictions.
SATA SSD: a major upgrade for older PCs
A 2.5-inch SATA SSD connects with a SATA data cable to the motherboard and a SATA power connector from the power supply. Its maximum speeds are lower than NVMe, but it is still dramatically faster than a mechanical hard drive for booting Windows, opening applications, and loading many games.
SATA SSDs are an excellent option when your M.2 slots are already occupied, your motherboard does not support NVMe, or you want affordable secondary solid-state storage. They also fit easily in many older desktop cases, provided there is a 2.5-inch mounting point or adapter bracket.
Hard drives: capacity at the lowest cost
A 3.5-inch HDD remains useful when you need lots of storage at a sensible price. It is well suited to backups, security-camera footage, large photo collections, music libraries, and files that do not need instant access.
The trade-off is speed and noise. Hard drives have moving parts, so they are slower, can be heard during activity, and are more vulnerable to physical shock than SSDs. They should not be your first choice for a modern Windows installation or competitive gaming system where fast loading and responsiveness matter.
Check compatibility before you buy
A quick check now prevents a frustrating install later. Open your desktop’s side panel with the system powered off and unplugged, or look up the motherboard model in your system information. You need to confirm three things: available ports or slots, drive bays, and power connections.
For an M.2 NVMe SSD, find an open M.2 slot on the motherboard. It is a slim connector, usually located between PCIe slots or beneath a heatsink cover. Some boards have multiple slots, but using one can occasionally disable a SATA port or reduce bandwidth shared with another device. Your motherboard manual will show these lane-sharing details.
For a SATA SSD or hard drive, verify that you have a free SATA data port and a spare SATA power plug from the power supply. Then check the case for an open 2.5-inch or 3.5-inch bay. Modern cases are often fully upgradeable, but small-form-factor desktops and office PCs may have limited mounting space.
Also consider power supply headroom if you are adding several drives. One SSD draws very little power, while a hard drive uses more during startup. A quality power supply in a typical gaming or workstation desktop can handle an extra drive easily, but it is worth checking when the system is already packed with high-performance components.
Decide whether to add a drive or replace the old one
Adding storage is usually easier than replacing it. Your existing Windows installation stays where it is, and the new drive can be formatted and used immediately for games, files, or projects. This is the low-risk route if your system has an available slot or bay.
Replacing the main drive makes sense when the current boot drive is too small, too slow, or showing signs of failure. You will need to either clone the old drive to the new one or install Windows fresh. Cloning preserves your applications, settings, and files, but it works best when the old drive is healthy and the new drive has enough capacity for all used data.
A clean Windows installation takes more setup time, but it can be the better choice for a PC that has accumulated years of unused software and startup clutter. Back up essential files first, create installation media, and make sure you know where to find application licenses and account logins.
How to upgrade desktop storage safely
Once you have selected the drive, the physical installation is straightforward, but take your time. Shut down the desktop completely, switch off the power supply if it has a rear switch, and remove the power cable. Press the power button for a few seconds to discharge residual power. Work on a clean surface and avoid touching exposed drive contacts.
For an M.2 drive, remove the motherboard heatsink if present, insert the SSD at a slight angle, then press it flat and secure it with the small retaining screw. Reinstall the heatsink and thermal pad carefully. Do not overtighten the screw.
For a SATA drive, secure it in the appropriate tray or bracket, connect the narrow SATA data cable to the motherboard, and connect SATA power from the power supply. Keep cables clear of fans and avoid sharply bending them.
After reassembling the desktop, start it and enter Windows. New blank drives may not appear in File Explorer until they are initialized. Open Disk Management, initialize the drive using GPT for a modern system, create a new simple volume, assign a drive letter, and format it as NTFS. Give it a clear name such as Games, Projects, or Backup so it is easy to manage later.
If you cloned your system drive, shut down after cloning and make sure the new SSD is selected as the first boot device in BIOS. Once Windows starts correctly from the new drive, do not immediately erase the old one. Confirm that your files, applications, and recovery options are all present first.
Build storage around how you use your PC
There is no single perfect capacity. A home office PC may be ideal with a 1TB NVMe SSD and cloud backup. A high-FPS gaming system often benefits from a 2TB NVMe SSD, especially when large titles and game captures share the same drive. A creator workstation may need a 1TB or 2TB primary NVMe drive, a second SSD for active media, and a large HDD for archives.
For a new custom desktop, it is often smarter to choose a motherboard with additional M.2 slots and room for SATA drives than to overbuy storage on day one. That gives you a clean upgrade path as your game library, business files, or production workload grows. PCZone systems are built with upgradeability and compatibility in mind, which makes future storage expansion far less complicated than working around a sealed mass-market desktop.
Before you close the case for good, make one final backup of anything you cannot replace. More storage gives your desktop room to perform, but a simple backup plan is what keeps that extra capacity from becoming a single point of failure.

